How to Brew Great Coffee at Home: The Only Guide You Need
For the 99% of people who just want a damn good cup of coffee

Let's get one thing straight: most people are making coffee wrong, but it's not their fault.
The coffee snob industry loves to overcomplicate everything. They'll talk about water temperature down to the degree, extraction rates, and whether Mercury is in retrograde. Meanwhile, you just want a strong cup of coffee that doesn't taste like burnt sadness.
Here's what you don't need: a $3,000 espresso machine, a chemistry degree, or a pretentious barista's approval.
Here's what you do need: decent beans, hot water, and the right measurements.
We're skipping pod coffee entirely. Keurig makes hot disappointment. Nespresso costs too much and still can't touch a properly brewed cup once you learn the basics (which you're about to).
This guide covers three brewing methods that actually work:
Drip coffee maker (the reliable workhorse)
French press (full-bodied and bold)
Pour-over (clean and precise)
We're using a medium roast as the baseline (most people's favorite) and erring on the bold/strong side with our measurements. If you want weaker coffee, you can always .. sigh .. use less coffee.
First things first: you need decent beans. Check out our Best Grocery Store Coffee Guide for what to buy at your local grocery store without breaking the bank.
Now let's brew some coffee that doesn't suck.
Section 1: Before You Brew - Whole Bean vs Pre-Ground
Most guides skip this part. They assume you already know. You probably don't, and that's fine.
The Starting Point Decision
Pre-Ground Coffee:
Pros: Convenient. Consistent measurements. No extra equipment needed.
Cons: Goes stale faster (use within 1-2 weeks of opening). Less fresh flavor.
Reality check: 80% of people use pre-ground and still make great coffee.
Our take: If you're buying quality beans and using them within two weeks, you're fine. Don't let coffee snobs shame you.
Whole Bean Coffee:
Pros: Stays fresh longer (2-4 weeks). Better flavor. Satisfying morning ritual.
Cons: Requires a grinder. Extra step when you're barely awake.
Reality check: Fresh-ground tastes noticeably better, but you need a decent grinder.
Our take: Worth it if you're already buying good coffee. The difference is real.
The Measurement Question Everyone Asks
"How much whole beans do I grind to get the right amount of ground coffee?"
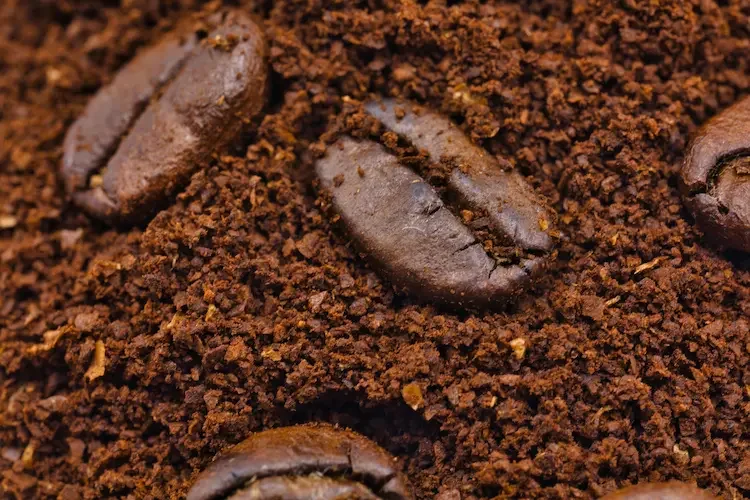
Ready for a shocker? Ground coffee takes up almost the same volume as whole beans.
Seriously. You'd think grinding would pack things a lot tighter, but it doesn't. The science is boring. The result is useful.
But if you’re curious about the science:
When you grind coffee, you are trading larger air gaps between whole beans for a shit-ton of smaller air gaps between grounds.
Coffee grounds are jagged and don’t nestle together very efficiently.
Coffee oils and static electricity (from the grinding) cause the grounds to cling together irregularly instead of settle densely.
To put it visually, a slightly heaping scoop of whole coffee beans turns into a flat scoop of coffee grounds.
A Note on Coffee Scoops
The "standard" coffee scoop equals 2 tablespoons. You've probably seen them—little plastic scoops that come with coffee canisters or coffee makers. They're fine, but here's the thing: everyone already has measuring spoons and cups from cooking.
Use what you have.
Quick Translation (for ground coffee):
2 tablespoons = just under 1/8 cup (most measuring sets don't have this)
4 tablespoons = 1/4 cup
5 tablespoons = 1/4 cup + 1 tablespoon
6 tablespoons = just under 1/3 cup (close enough to use 1/3 cup)
8 tablespoons = 1/2 cup
12 tablespoons = 3/4 cup
For most of these brewing steos, we're using 1/4 cup and 1/3 cup measurements because they're easier and faster than counting tablespoons.
Want a dedicated coffee scoop? Go for it. Once you figure out which measurement you use most (1/4 cup, 1/3 cup, whatever), grab a cool one. Makes your morning routine feel more intentional. But don't stress, your regular measuring cups work perfectly.
Grinding Math (Simple Version)
A slightly heaping 1/4 cup of whole beans = a level 1/4 cup of ground coffee
A level 1/4 cup of whole beans = a slightly under-filled 1/4 cup of ground coffee
Pro tip: If you want to be precise, weighing is the way to go. A cheap kitchen scale eliminates all guesswork. But since 99% of people won't do that, here's the volume method: Just fill your 1/4 cup with beans (slightly heaping), grind, and you'll end up with roughly a level 1/4 cup of grounds.
Close enough for great coffee.
Blade Grinders vs Burr Grinders
If you're grinding your own beans, you'll need a grinder. There are two types, and the difference actually matters.
Blade Grinders:
How they work: Spinning blade chops beans like a blender.
Pros: Cheap ($15-30). Easy to find anywhere. Gets the job done.
Cons: Inconsistent grind. Some big chunks, some powder. Harder to control grind size. You just pulse the button and hope.
Best for: Drip coffee maker, pour-over (where paper filters catch the inconsistencies).
Reality check: Most people start here and make fine coffee.
Burr Grinders:
How they work: Two serrated surfaces crush beans uniformly between them (like a pepper grinder).
Pros: Consistent grind size every time. Adjustable settings for different brew methods. Better extraction means better flavor.
Cons: More expensive ($40-200+). Larger. Louder.
Best for: French press (eliminates most of the sludge problem). Any method if you're serious about coffee.
Reality check: Worth the upgrade if you drink coffee daily and care about the difference between good and great.
Our Take: Start with a blade grinder if you're new to grinding beans. It's cheap and you'll learn what you like. If you're making French press regularly, or you notice your coffee tastes better at cafes than at home, upgrade to a burr grinder. The difference is real, and once you taste it, you won't go back.
Section 2: Drip Coffee Maker
(Your Reliable Morning Workhorse)

The automatic drip coffee maker gets zero respect in coffee snob circles. Too basic. Too common. Not artisanal enough.
Screw that. It's reliable, it's fast, and it makes consistently good coffee if you do it right.
What We're Using
Standard 12-cup automatic drip coffee maker. Black & Decker, Mr. Coffee, Cuisinart, whatever. They all work the same way. If it has a water reservoir, a filter basket, and a hot plate, you're good.
Quick Education: What's "Percolating"?
Technically, "percolating" means water cycles through the coffee grounds multiple times—like old-school stovetop percolators that made coffee taste like burnt rubber.
Modern drip coffee makers don't actually percolate. They drip hot water through the grounds once. But people still call them “percolators,” so whatever. The point is: hot water plus gravity plus coffee grounds equals your morning fuel.
Coffee Maker Math (Important!)
Your 12-cup coffee maker doesn't make 12 real cups.
Coffee makers use 5-6 ounces per "cup," not the standard 8 ounces. This confuses everyone. Here's the translation:
12 "cups" on your coffee maker = about 60 oz of brewed coffee
That's actually 7.5 standard 8-oz cups
Or about 5-6 real-world mugs (since most mugs hold 10-12 oz)
Why do they do this? Because the coffee industry inherited the "cup" measurement from tea, and teacups are smaller. Yes, it's stupid. No, it's not changing. Move on.
The Measurements (Bold & Strong, How We Like It)
These measurements err on the stronger side. If it's too strong for you, add a splash of water to your mug and use a bit less coffee next time. Easy fix.
FULL POT (12 "cups" = 60 oz brewed coffee):
Pre-ground: 3/4 cup ground coffee, scooped slightly heaping (12 tablespoons)
Whole bean: About 1 cup beans, then grind
Grind size: Medium (think sea salt consistency)
HALF POT (6 "cups" = 30 oz brewed coffee):
Pre-ground: A heaping 1/3 cup ground coffee (6 tablespoons)
Whole bean: A flat 1/2 cup beans, then grind
QUARTER POT (3 "cups" = 15 oz brewed coffee):
Pre-ground: 3 slightly heaping tablespoons ground coffee
Whole bean: A flat 1/4 cup beans, then grind
Real-World Advice
Water:
Filtered water makes better coffee. Chlorine and minerals affect taste.
But c’mon, most people use tap water. That's fine. Here's the workaround:
Pro move: Keep a pitcher of tap water out overnight with a cloth over the top. This lets chlorine and other volatiles evaporate. Refill as needed. Costs nothing, tastes better than straight tap, easier than buying a filter.
If your tap water tastes bad on its own, your coffee will too. In that case, spring for filtered or bottled water.
Filters:
You've got two options:
Paper filters: Cleaner taste, no cleanup, cheap. Most people use these. Buy the size that fits your machine (usually #4 for 12-cup makers). Generic store brands work fine, don't overpay for fancy ones.
Reusable metal filters: More oil and sediment get through (richer, fuller body). Save money long-term. Need cleaning after each use.
Our take: Start with paper. Try reusable if you want more body in your coffee and don't mind rinsing a filter.
Actual Tips That Matter
Pre-wet your paper filter with hot water before adding coffee. Pour hot water through the empty filter, let it drain, dump the water. Takes 10 seconds. Prevents paper taste and preheats the carafe.
Don't make more than you'll drink in an hour. Coffee sitting on a hot plate gets bitter and burnt. Make what you need. If you need coffee later, brew a fresh pot. Or get a thermal carafe coffee maker that doesn't use a hot plate.
Clean your machine every couple months. Fill the reservoir with equal parts white vinegar and water. For a 12-cup maker, that's about 4 cups white vinegar plus 4 cups water. Run a full brew cycle (no coffee). Then run 2-3 cycles with just plain water to rinse out the vinegar.
Why? Old coffee oils build up and make everything taste stale and bitter. Vinegar cuts through it. Your coffee will taste noticeably better after a deep clean.
Medium roast, medium grind. This is your baseline. Adjust from here based on what you like.
If it tastes weak: Add more coffee next time. Go up by 1-2 tablespoons. Or try a darker roast.
If it tastes bitter: Use slightly less coffee (I cried writing that). Or try a coarser grind (if you're grinding your own). Over-extraction causes bitterness, so it’s either too much coffee, too fine a grind, or both.
The coffee maker itself matters (kind of). Cheap machines don't always heat water to the right temperature (195-205°F is ideal). If your $15 machine makes weak, watery coffee even with the right measurements, it might not be hot enough. Upgrade to a $40-60 machine and see if it improves.
Section 3: French Press
(Full-Bodied and Bold)
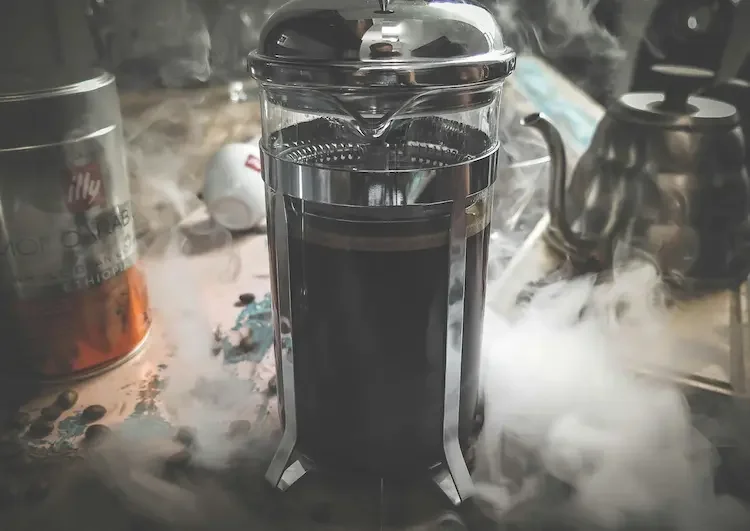
French press makes coffee that tastes like coffee. Rich, full-bodied, with oils and sediment that paper filters remove. Some people love it. Some people hate the sludge at the bottom of the cup. It’s an absolute favorite around here at DMM.
You'll figure out which camp you're in pretty quickly.
What We're Using
Standard 8-cup (34 oz) and 4-cup (17 oz) French press. Glass or stainless steel, doesn't matter much for the actual brewing.
Important Note: A French press "cup" equals 4 oz, not 8 oz. Because the coffee industry loves chaos.
So an 8-cup French press makes 34 oz of coffee, which is about 4 actual mugs. Math is fun.
The Measurements
8-CUP FRENCH PRESS (34 oz = about 4 mugs):
Pre-ground: A flat 1/2 cup ground coffee (8 tablespoons)
Whole bean: A slightly heaping 1/2 cup beans, then grind
Water: 34 oz (about 4 standard cups of water)
4-CUP FRENCH PRESS (17 oz = about 2 mugs):
Pre-ground: A flat 1/4 cup ground coffee (4 tablespoons)
Whole bean: A slightly heaping 1/4 cup beans, then grind
Water: 17 oz (about 2 standard cups of water)
Grind Size: Coarse
Think small breadcrumbs or coarse sea salt. If your grind is too fine, you'll get sludge in your cup. Not just a little sediment, but actual muddy sludge.
Important: This is where a burr grinder really shines.
Blade grinders create inconsistent particles: some big, some powdery. That powder becomes the sludge at the bottom of your cup. A burr grinder gives you uniform coarse grounds, which means way less sediment.
If you're using a blade grinder and getting too much sludge, try pulsing in shorter bursts and don't over-grind. Stop when the beans are broken up into coarse chunks. You want real small gravel, not sand.
The Process
1. Heat your water.
Bring to a boil, then turn off and let sit for a minute. Target temp: 195-205°F.
Why? Boiling water scorches coffee and makes it bitter. Just-off-boil is perfect. You don't need a thermometer. Just boil, turn off, wait a minute. Good enough.
2. Optional (but recommended): Preheat your French press.
Fill it with extra hot water from your kettle, let sit for the minute you’re waiting, dump it out. This keeps your brew temperature consistent and your coffee hotter longer.
3. Add coffee grounds to the empty French press.
4. Bloom (30 seconds).
Pour just enough hot water to saturate all the grounds.
Give it a gentle stir with a spoon. You'll see it puff up and bubble. That's CO2 releasing from the roasting process.
Wait 30 seconds. Set a timer if you're that person. Or just count to 30. Whatever.
5. Add remaining water.
Pour in the rest of your hot water in a steady stream. Don't fill it all the way to the top, leave about two fingers of space so the plunger fits without overflowing. You can measure out the water as suggested above, but you’ll quickly learn to judge it visually.
Place the lid on with the plunger pulled all the way up.
6. Steep for 4 minutes.
Set a timer. Don't guess. Four minutes is the sweet spot for most coffee. Some people like 5 minutes for a stronger cup. Under 3 minutes and you're under-extracting (weak, sour). Over 5 minutes and you're over-extracting (bitter, astringent).
Start at 4 minutes. Adjust from there.
7. Plunge slowly and steadily.
Press straight down. The slower you press, the less sediment ends up in your cup. If you hit resistance, pull up slightly and press again. Don't force it—you'll just agitate the grounds and make it muddier.
8. Pour immediately …but here's the reality:
Most people don't pour the whole press at once. You pour one cup, drink it, then come back 20 minutes later for a second cup.
That second cup will be stronger and potentially more bitter because the coffee keeps extracting even after you plunge. Plunging slows extraction, but doesn't stop it completely.
Your options:
Pour all the coffee into a thermal carafe right after brewing (if you have one)
Accept that cup #2 will be bolder. Some people like it. Some don’t even notice.
Make smaller batches so you pour it all at once
Upgrade option: Some French presses use multiple filters with silicone lips that seal the grounds away from the brewed coffee, actually stopping extraction. Brands like Espro and Coffee Gator make these. They cost more ($40-80 vs $20-30 for basic presses), but if you regularly make a full press and drink it, it's worth considering.
Glass vs Insulated French Press
Glass (traditional):
Classic look
Lets you see the brew (satisfying if you're into that)
Goes lukewarm faster, especially bad in winter
Insulated (stainless steel):
Keeps coffee hot for 30+ minutes
More durable (won't shatter if you knock it over)
Can't see inside (doesn't really matter)
Our pick: Insulated if you're making a full press and drinking it over 20+ minutes. Glass if you're brewing for multiple people who'll drink it immediately.
What About the Fine Particles/Sediment?
It's part of the French press experience. You're going to get some. The question is how much you can tolerate. Some people actual like a little silt from their press.
The sediment contains coffee oils and fine particles that make the brew richer and fuller-bodied. It's like the difference between filtered and unfiltered beer.
If you hate the sediment:
Use a coarser grind (most important)
Get a burr grinder (second most important)
Pour slowly and stop before the very last bit at the bottom
Consider pour-over instead. Paper filters catch everything
If you don't mind it or actually like it:
You're in the right place. French press is your method.
Section 4: Pour-Over
(Clean, Bright, and Precise)
Pour-over is the coffee snob's favorite method. It's also legitimately good if you don't overcomplicate it.
The appeal: clean, bright flavor. Paper filters catch all the oils and sediment, so you get pure coffee taste without any mud or sludge. It highlights the actual flavor of your beans—which is great if you have good beans, and revealing if you don't.
It's also hands-on. You're actively brewing, not just pressing a button. Some people find this meditative. Some people find it annoying before they've had coffee. You'll know which you are pretty quickly.
What We're Using
Standard pour-over cone. Hario V60, Melitta, Chemex, Bee House, or any single-cup pour-over dripper that sits on top of your mug. They all work essentially the same way.
You can get a decent one for $10-20. Plastic is fine. Ceramic looks nicer but doesn't brew better.
Pour-over makes coffee directly into your mug, one cup at a time. Total time: 3-4 minutes from start to finish.
The Measurements
11-12 OZ MUG (standard coffee mug):
Pre-ground: 3 flat tablespoons ground coffee
Whole bean: About 3 slightly heaping tablespoons beans, grind to medium
15 OZ MUG (large mug):
Pre-ground: 4 flat tablespoons ground coffee
Whole bean: About 4 slightly heaping tablespoons beans, grind to medium
20 OZ TRAVEL MUG:
Pre-ground: 5 flat tablespoons ground coffee
Whole bean: About 5 slightly heaping tablespoons beans, grind to medium
Grind Size: Medium to Medium-Coarse
Think sea salt or slightly coarser. Finer than French press, coarser than espresso. Somewhere in the middle.
If you're grinding at home, start with your grinder's medium setting and adjust from there.
The Process
1. Heat water to boiling, then turn off and let sit a minute.
Target: 195-205°F. Same as French press. You don't need a thermometer, just boil, turn it off, and twiddle some thumbs.
2. Set up.
Place your pour-over dripper on your mug. Add a paper filter. Make sure the filter sits flat against the walls of the dripper.
3. Rinse the filter.
Pour a little bit of hot water through the empty filter to rinse it and preheat your mug. This removes any paper taste and warms everything up.
Dump the rinse water out of your mug. Don't skip this step, wet paper tastes like wet paper.
4. Add coffee grounds to the filter.
Give it a gentle shake or tap to level the bed. You want an even, flat surface.
5. The Bloom (30-45 seconds).
This is the key step that separates pour-over from just dumping hot water on coffee.
Pour just enough water to saturate all the grounds.
Pour slowly, starting in the center and spiraling outward, making sure every ground gets wet, then stop. Watch it puff up and bubble. That's CO2 escaping.
Wait 30-45 seconds. Let it do its thing. This degassing allows the water to extract flavor more evenly. Fresh coffee blooms more dramatically than stale coffee, so this is also your freshness indicator.
6. Pour the rest of the water.
After the bloom settles, slowly pour the remaining water in a slow, steady spiral motion. Start from the center, spiral outward to about half an inch from the edge, then spiral back to the center.
Don't just dump water in one spot. Move in circles. This ensures all the coffee gets evenly saturated.
Pour slowly but steadily. If you pour too fast, water will channel through the grounds unevenly (weak spots and strong spots). If you pour too slowly, it'll take forever and you'll over-extract.
Aim for a total brew time of 2.5-4 minutes from the first pour to the last drip.
Keep the water level consistent. Don't let it overflow, but also don't let it run completely dry before you add more water. Keep it between half-full and two-thirds full.
Keep an eye on how full your mug is getting. You may need to gently pick up the pour-over cone a couple times to see how full your mug is getting. The first mug or two you may undershoot or overshoot how much water to pour, but you’ll get the hang of it.
7. Done.
Once all the water has dripped through, remove the dripper and enjoy. The coffee bed should be flat and even. If it's all bunched up on one side, your pouring technique needs work.
Filter Types
Paper filters: Cleanest taste. Removes all oils and sediment. Cheap. Disposable. Most common.
Buy the right size for your dripper. Generic brands work fine—they're all basically the same.
Metal filters: More body, more oils (closer to French press but cleaner). Reusable. Higher up-front cost but saves money over time. Requires rinsing after each use.
Our take: Start with paper. It's easier and produces the classic pour-over taste. Try metal if you want more richness and don't mind a little sediment.
Tips and Troubleshooting
A gooseneck kettle makes pouring easier. The long, narrow spout gives you better control. But any kettle works, just pour slower and more carefully.
If your coffee brews too fast (under 2 minutes): Your grind is too coarse. Water's running through without extracting enough flavor. Result: weak, sour coffee. Grind finer next time.
If it brews too slow (over 5 minutes): Your grind is too fine. Water's getting clogged. Result: bitter, over-extracted coffee. Grind coarser next time.
Pour-overs highlight your beans more than other methods. If your coffee tastes bland or bad, it's probably your beans, not your technique. Use good, fresh coffee. Check our Grocery Store Coffee Guide for recommendations.
Practice your pouring. The spiral motion feels awkward at first. Do it a few times and it becomes muscle memory. You'll get the hang of it.
Don't stress about perfection. Coffee snobs will tell you about exact pour rates and temperature curves. Ignore them. Slow, steady, circular pours. That's it. Your coffee will be great.
The Bottom Line
You don't need fancy equipment to make great coffee.
You need:
Decent beans (check our Grocery Store Guide)
The right measurements
Water that's hot but not boiling
A little bit of patience
That's it. Pick your method. Follow the measurements. Adjust to your taste.
Too strong? Add less coffee or more water next time.
Too weak? Add more coffee or less water next time.
Tastes like ass? Your beans probably suck. Buy better beans.
Still tastes like ass? Clean your equipment. Old coffee oils make everything taste stale and bitter.
The best brewing method is the one you'll actually use every morning. Drip coffee maker for convenience. French press for body and richness. Pour-over for clean, bright flavor.
Try them all. Figure out what you like. There's no wrong answer as long as you're making coffee that doesn't suck.
And for the love of all that's caffeinated: skip the Keurig.
Ready to Upgrade Your Mug Game?
You've got the brewing method down. Now you need a mug that matches your coffee's intensity.
Black Coffee Mug - For those who take it straight, no apologies.

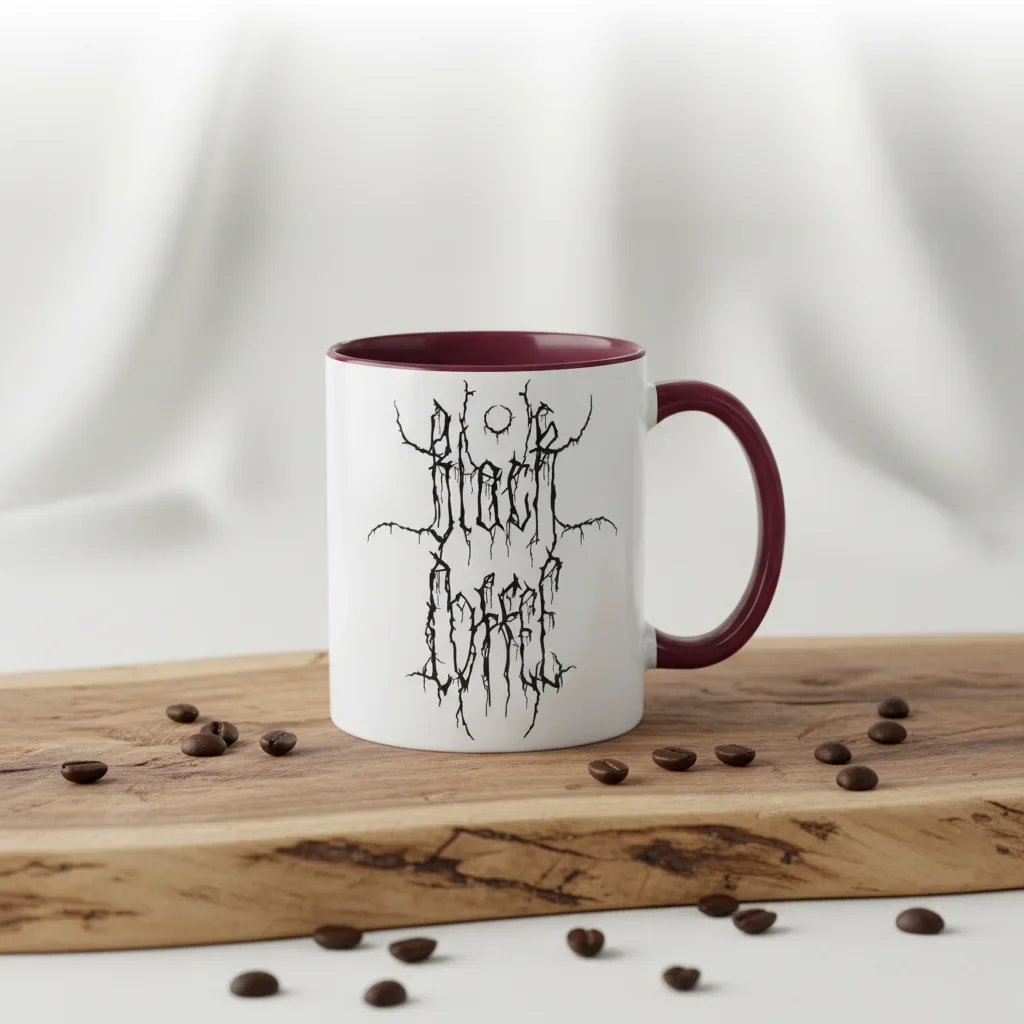


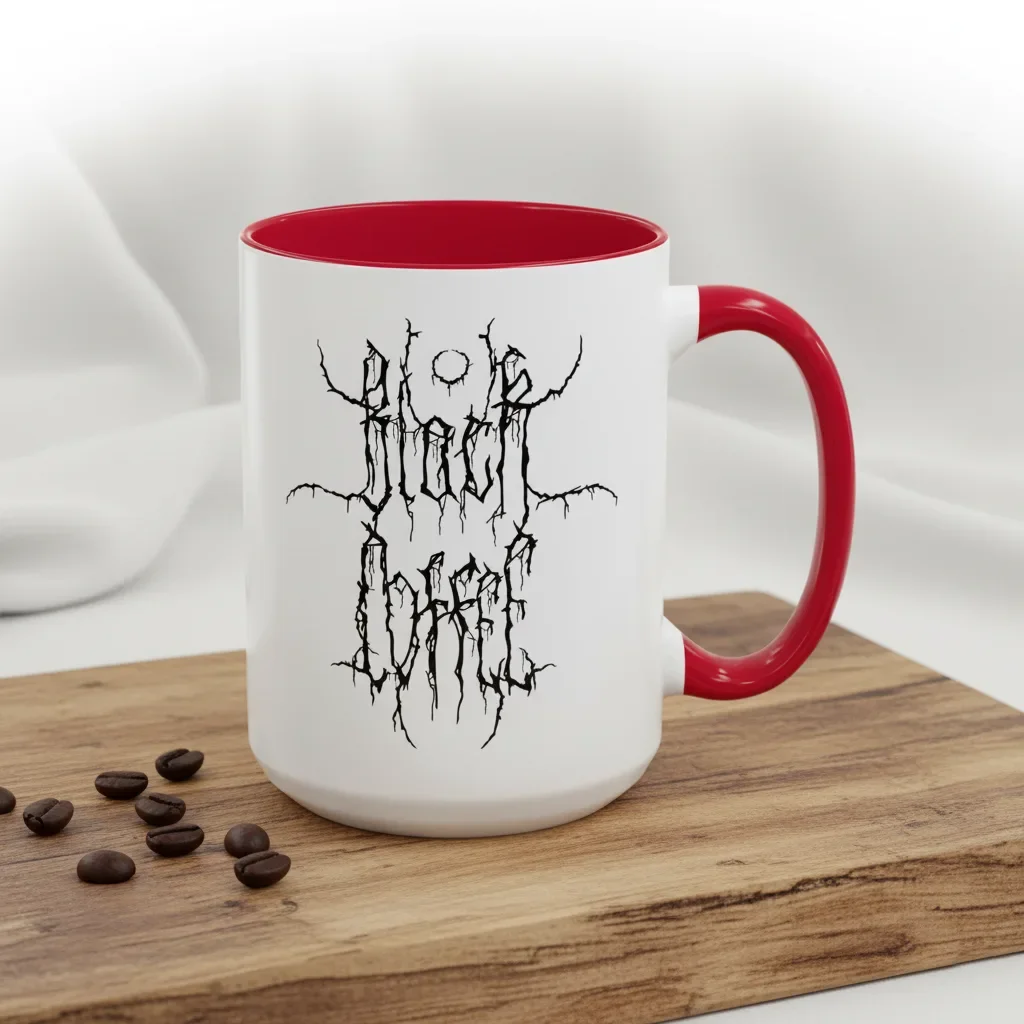
Ah yes, black coffee. Dark as a Scandinavian winter’s night. Strong enough to wake Odin.
Cup your hands around the mug, feel the heat seep into your bones, and breathe deeply the robust, roasted aromatics and earthy flavors. Let that smoky, warming aroma curl into your senses like the first riff of the day. This is coffee stripped to its elemental core, no fluffy creamer needed. A bold, morning punch for those who embrace the darkness.
This mug... this mug is for black coffee.
For fans of black coffee and raw, lo-fi black metal, this mug is crafted to kick off your day with the grit of a Darkthrone riff. Whether you’re sipping your morning brew before diving into trading stonks or cranking black metal classics that sound like they were recorded with a potato in a dank basement, these Black Coffee mugs have your back. Designed for metalheads who live for strong coffee, grim music, and gear that’s made to endure.
We also have a version of this mug with Black Metal Cat on one side of the mug.
These unique coffee mugs won’t fade, no matter how many harsh dishwasher cycles or messy refills you throw at it. Built to endure years of heavy mornings and relentless pours. Hell, it might even outlast your favorite battle jacket. But if you lose it in the chaos of the next mosh pit, that’s on you (seriously, why the fuck would you bring a damn coffee mug into a pit?).
• Design on both sides
• Durable Ceramic
• Highest Quality ORCA Coating®
• Lead and BPA-free material
• Dishwasher and microwave safe
• 11oz - Height: 3.70" | Diameter: 3.19"
• 15oz - Height: 4.61" | Diameter: 3.27"
First Coffee, Then The Things Mug - Because priorities matter.


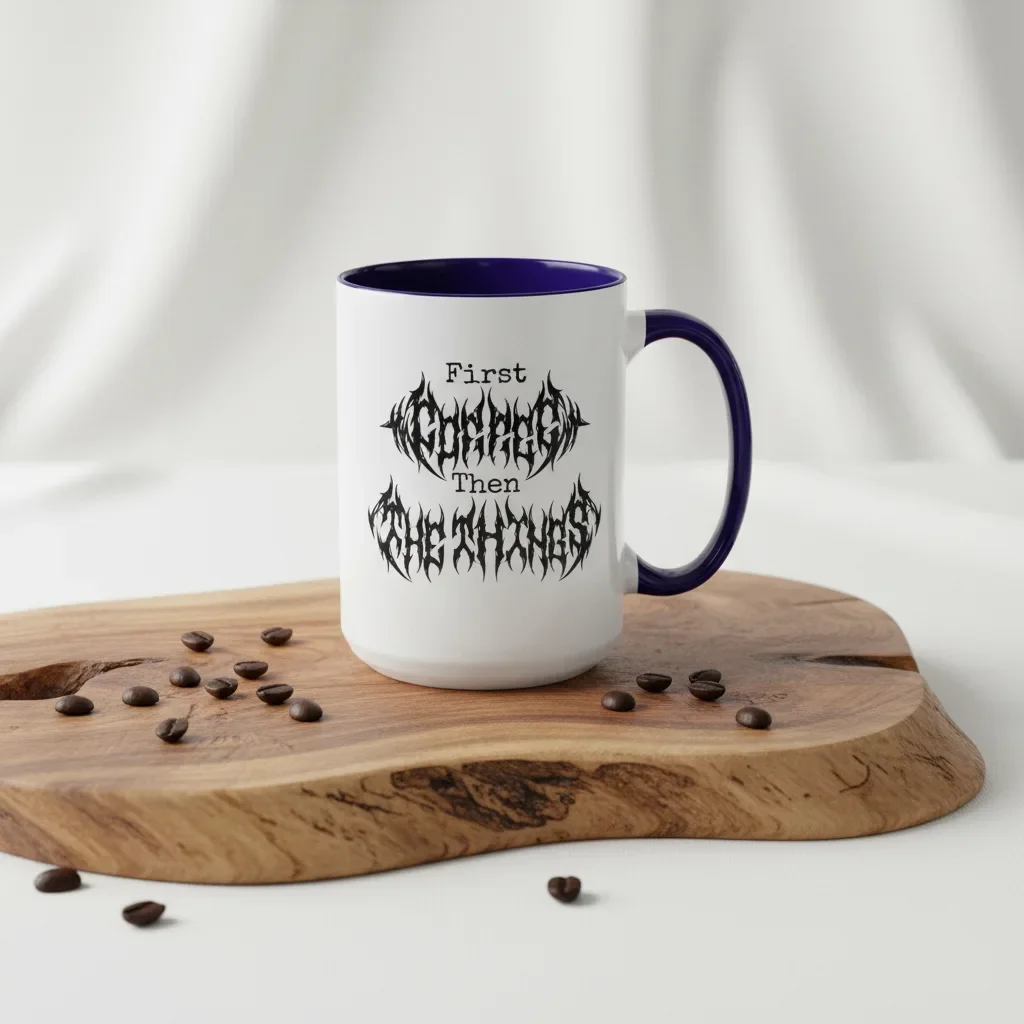


The legendary Chinese philosopher, Confucius, once said: "To put the world in order, we must first put the nation in order; to put the nation in order, we must first put the family in order; to put the family in order, we must first cultivate our personal life; we must first set our hearts right."
And what helps set our hearts right? Sipping a fresh mug of hot joe during the morning calm before the day’s demands. A ritualistic moment of daily solace. Breathe. Introspect. Gaze out the window. First: coffee. Then: the things.
Am I saying that if you snag this mug, you will eventually put the world in order and solve all national, family, and personal issues? No, that’s absurd. Confucius is. He said that like 2500 years ago, and every fortune cookie on earth still quotes this guy, so there has to be some significant merit here.
This mug is as dependable as your morning coffee ritual. Built tough to handle years of dishwasher cycles without fading and durable enough to endure the brutal heat of the microwave. But fair warning: if "the things" decide to show up before your coffee and the mug gets chucked across the kitchen, Confucius might forgive you, but the handle won’t.
• Design on both sides
• Durable Ceramic
• Highest Quality ORCA Coating®
• Lead and BPA-free material
• Dishwasher and microwave safe
• 11oz - Height: 3.70" | Diameter: 3.19"
• 15oz - Height: 4.61" | Diameter: 3.27"
Strong coffee. Brutal mugs. No compromises.
Stay brutal,
— The Death Metal Mugs Crew
*Questions? Corrections? Strong opinions about grind size? Email us or drop a comment below.*